Chlamydia Swab

Chlamydia Swab

Instructions for your do-it-yourself vaginal swabs. It is a good idea to read these instructions through before taking your swab.

Use the images and notes in the 13 steps below to help you to successfully take a vaginal swab.

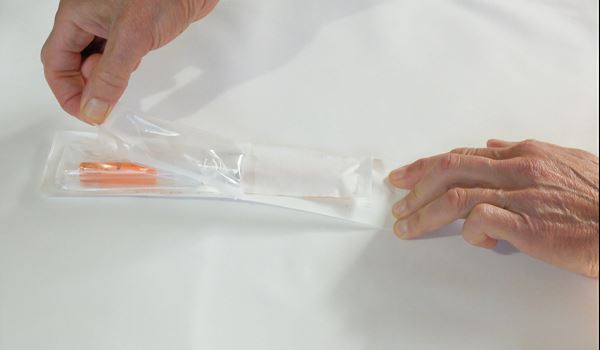
Following discussion with your doctor you should have picked up 1 or 2 vaginal swabs. Each swab has a sample bag, a form, and a small rectangular label with a bar code on sticky-back paper. Do not mix up the samples/bags/forms/labels.

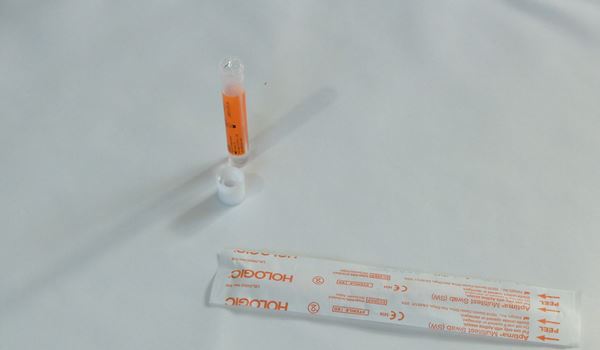
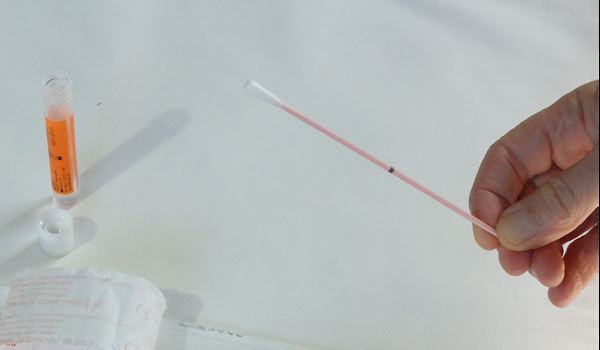
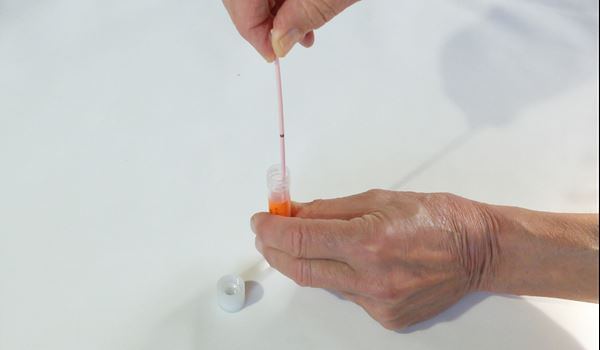
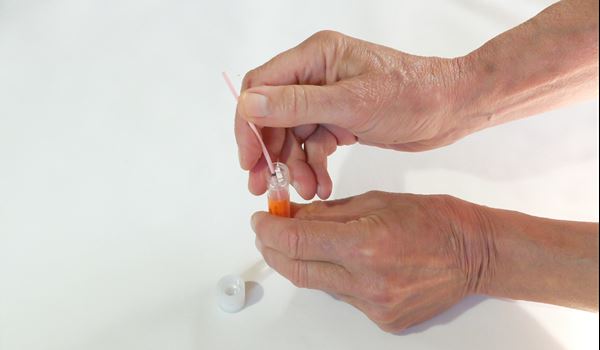
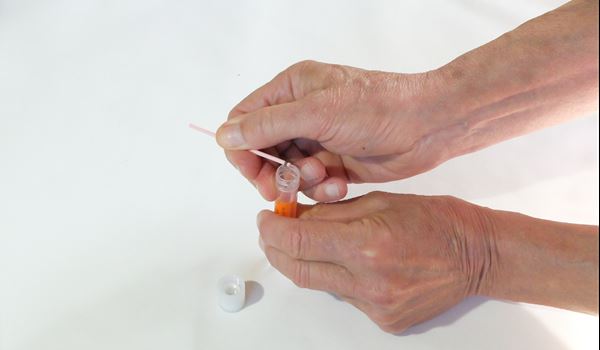
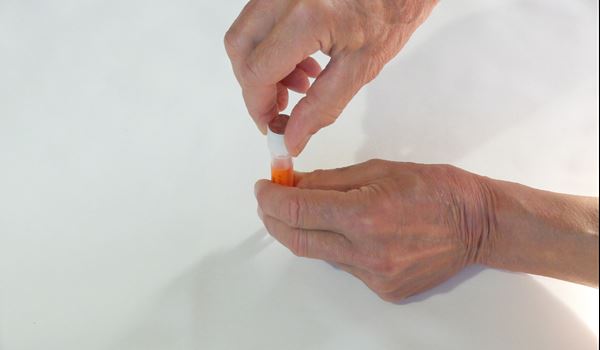
This guide is for a Chlamydia Swab (the sample pot has an orange label, the swab has a pink stick).These swabs are used to test for chlamydia and gonorrhoea.

pack

1 Pack

This is what the pack looks like. 

Prepare yourself to take the swab(s). Ideally you need a clean, flat surface on which to place the parts of the pack. This is important as you must not spill the fluid in the sample pot.

peel

2 Peel Open Pack

Carefully peel open the outer packaging so you can reach the sample pot and swab packet inside.

contents

3 Contents

The contents of pack... a sample pot and a swab packet.

open pot

4 Open Sample Pot

When ready, unscrew the sample pot lid. Don't lose this - you will need it later.

stand pot

5 Stand Pot Up

Carefully stand up the pot on a clean, flat surface. Make sure you don't knock it over or spill the fluid in the pot.

peel open

6 Open Swab Packet

Carefully peel open the swab packet just enough to reach the end of the pink stick.

remove swab

7 Remove Swab

Hold the swab by the end of the pink stick, taking care not to touch the cotton bud end.

Remove the swab from the packet.

take swab

8 Take Swab

Insert the cotton bud end of swab about 6 cm into your vagina and rotate it for 10 seconds.

put in pot

9 Place Swab in Pot

Remove and put the swab all the way into the sample pot, taking care not to spill the contents.

bend

10 Bend Stick

Hold the pot in one hand and bend the pink stick against the rim.

snap

11 Snap Stick

Bend until the pink stick snaps (it is designed to snap). The swab should now fit inside the pot.

Discard the snapped off end of the stick.

close

12 Close and Label

Screw the lid firmly on. After washing your hands, carefully stick on the correct label - lengthways around the pot. Try not to wrinkle the bar code.

13 Package up your Sample

Before moving on to take any other swabs, make sure you have stuck the label to the swab you have just taken.

Put it in the bag with the correct form and seal the bag so that you do not muddle up your swabs and forms.